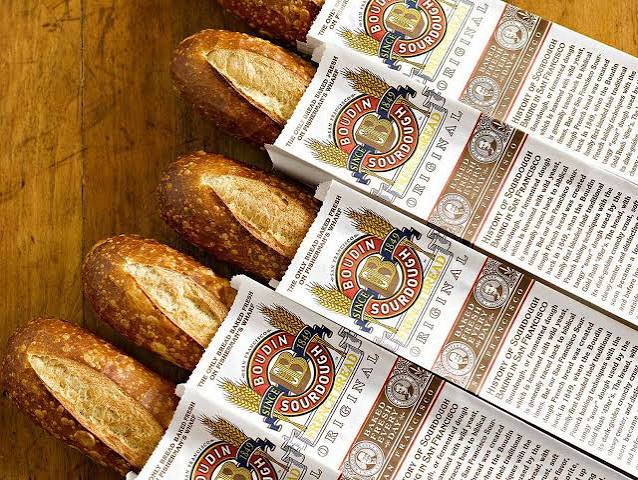
THE ORIGINAL SAN FRANCISCO SOURDOUGH BREAD
— INGREDIENTS —
THE MAIN DOUGH:
- 150 g active sourdough starter (fed and bubbly, 100% hydration)
- 350 ml water (filtered, room temperature, approx. 21°C – 24°C)
- 500 g strong bread flour (unbleached, high protein content)
- 10 g fine sea salt
— STEP-BY-STEP INSTRUCTIONS —
STEP 1: THE AUTOLYSE PROCESS
In a large mixing bowl, whisk together the 150g of active starter and 350ml of water until dissolved. Add the 500g of strong bread flour. Use your hands or a spatula to mix just until no dry flour remains and a shaggy dough forms. Cover the bowl with a damp cloth or plastic wrap and let it rest for 45 minutes. This process allows the flour to hydrate and naturally develop gluten.
STEP 2: ADD THE SALT
Sprinkle the 10g of fine sea salt evenly over the dough. Wet your hands and squeeze the salt into the dough, folding it over itself for 2 to 3 minutes until the texture becomes smoother and the salt is completely absorbed. Cover the bowl again.
STEP 3: BULK FERMENTATION AND STRETCH-AND-FOLD
Let the dough rise for 4 hours at room temperature (around 22°C – 24°C). Every 30 minutes for the first 2 hours, perform a “stretch and fold.” Wet your hands, grab one side of the dough, pull it gently upward, and fold it over the center. Rotate the bowl 90 degrees and repeat. Do this 4 times for each session (4 sides total). This builds the structure needed for a high, airy rise. Let it rest undisturbed for the final 2 hours.
STEP 4: PRE-SHAPE AND SHAPE THE LOAF
Gently tip the puffy dough onto a lightly floured surface. Fold the edges inward to form a loose round ball. Let it rest uncovered for 20 minutes (bench rest) until it relaxes. Dust a proofing basket (banneton) with flour. Flip the dough over and shape it into a tight round boule or oval batard by tensioning it against the counter. Place the shaped dough smooth-side down into the proofing basket.
STEP 5: THE LONG SAN FRANCISCO COLD RUST
Cover the proofing basket with a plastic bag to keep the moisture in. Place it into the refrigerator (at 3°C – 4°C) for 12 to 16 hours. This long, cold fermentation is the secret to the famous San Francisco flavor—it slows down the yeast but allows the bacteria to produce lactic and acetic acids, giving the bread its distinct, deep sour tang.
STEP 6: THE DUTCH OVEN STEAM BAKE
Place a heavy cast-iron Dutch oven with its lid on into your oven and preheat to 260°C (500°F) for at least 45 minutes. Take the cold dough out of the fridge. Tip it gently onto a sheet of parchment paper. Use a sharp razor blade (lame) to score a deep slash across the top at a 45-degree angle to create the signature crispy crust “ear.”
STEP 7: BAKE AND COOL
Carefully lower the parchment paper with the dough into the scorching hot Dutch oven. Put the lid back on tightly and bake for 20 minutes (the trapped steam is what makes the crust blistered and thin). Remove the lid, lower the oven temperature to 230°C (450°F), and bake uncovered for another 20 to 25 minutes until the crust is a deep mahogany brown. Let it cool completely on a wire rack for 2 hours before slicing!